← Back to Course
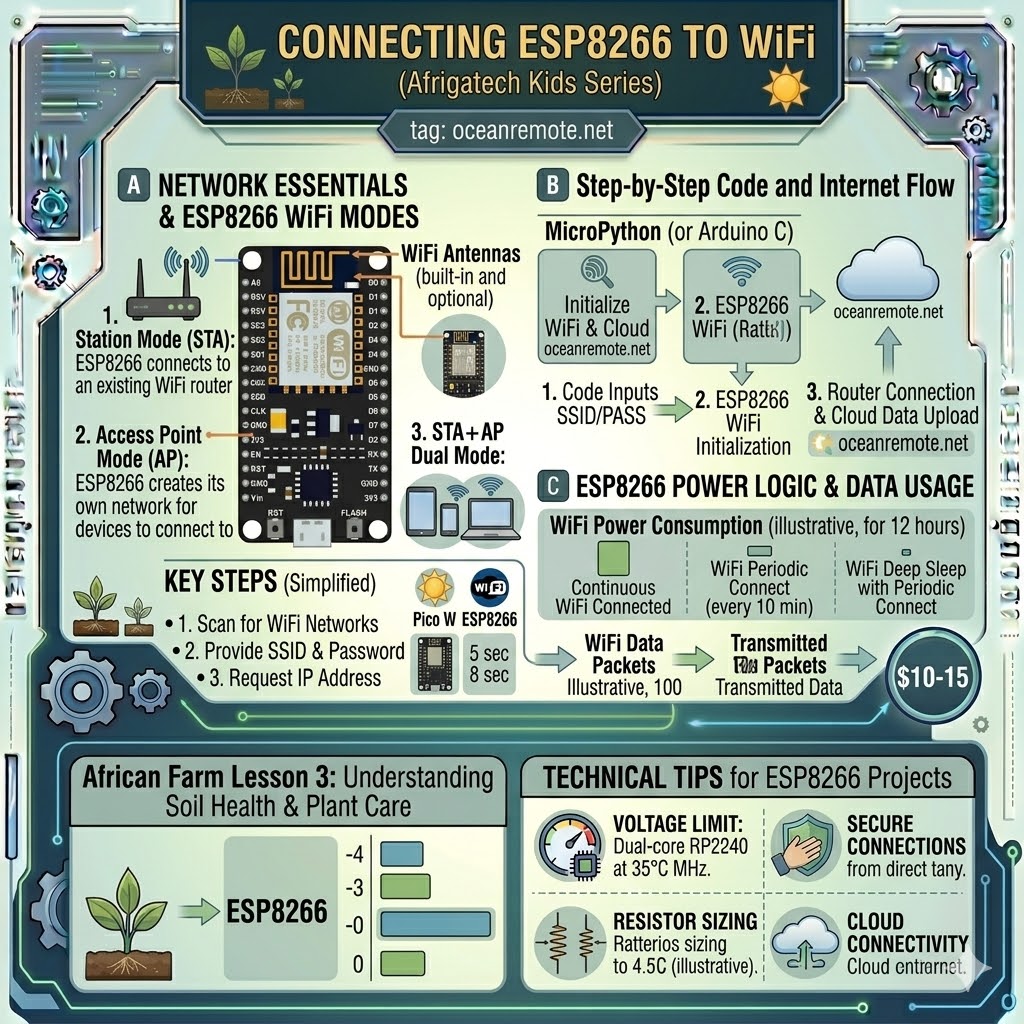
Connecting ESP8266 to WiFi
📶 Connecting ESP8266 to WiFi
📡 What You'll Learn:
- 🔌 Connect ESP8266 to WiFi network
- 📊 Check connection status and get IP address
- ⚠️ Handle connection timeouts and errors
📖 Basic WiFi Connection Code
#include <ESP8266WiFi.h>

const char* ssid = "YOUR_WIFI_NAME";
const char* password = "YOUR_WIFI_PASSWORD";

void setup() {
    Serial.begin(115200);
    delay(10);

    Serial.println("\n📡 Connecting to WiFi...");
    WiFi.begin(ssid, password);

    // Wait up to 10 seconds for connection
    int attempts = 0;
    while (WiFi.status() != WL_CONNECTED && attempts < 20) {
        delay(500);
        Serial.print(".");
        attempts++;
    }

    Serial.println();

    if (WiFi.status() == WL_CONNECTED) {
        Serial.println("✅ WiFi connected!");
        Serial.print("📡 IP address: ");
        Serial.println(WiFi.localIP());
    } else {
        Serial.println("❌ WiFi connection failed!");
        Serial.println("   Check SSID, password, and signal strength");
    }
}

void loop() {
    // Your sensor reading and data sending code here
    delay(60000);
}
💡 Important Notes:
- ESP8266 only supports 2.4GHz WiFi networks (not 5GHz)
- Rural farm WiFi is typically 2.4GHz - you're good!
- For battery operation, connect, send data, then disconnect to save power
- Use
WiFi.setSleep(true)to reduce power consumption
⚠️ Common Issues:
- Connection timeout: Weak signal - move closer to router
- Wrong password: Check case-sensitive characters
- 5GHz network: ESP8266 doesn't support it - use 2.4GHz
- SSID hidden: Must use
WiFi.begin(ssid, password, channel, bssid)
🎉 Quick Reference:
WiFi.begin(ssid, password)→ Start connectionWiFi.status() == WL_CONNECTED→ Check if connectedWiFi.localIP()→ Get IP addressWiFi.setSleep(true)→ Enable power saving
💡 Key Takeaways:
- Apply these concepts directly to your farm or project.
- Take notes on important details for the quiz.
- Use the button below to track your progress.
×
![Enlarged view]()