← Back to Course
Sending Data to OceanRemote
📤 Sending Data to OceanRemote Cloud - ESP8266 HTTP POST
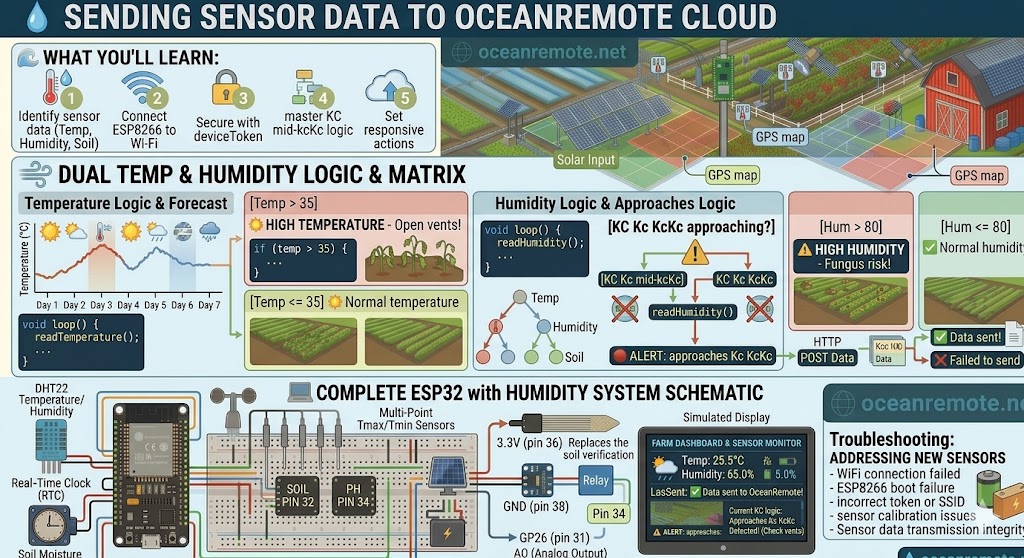
📤 What You'll Learn:
- 📡 Send sensor data to OceanRemote cloud using HTTP POST
- 🔌 Connect ESP8266 to WiFi
- 📊 Send temperature, humidity, and soil moisture data
- 🌍 View your farm data from anywhere in the world
🔌 Wiring (Soil Moisture + DHT22)
Soil Moisture Sensor    ESP8266 (NodeMCU)
═══════════════════     ════════════════
VCC                   → 3.3V
GND                   → GND
AO                    → A0

DHT22                 ESP8266
VCC                   → 3.3V
GND                   → GND
DATA                  → GPIO4 (D2) + 10kΩ pull-up
⚠️ ESP8266 ADC Warning:
ESP8266 A0 only accepts 0-1.0V! Most sensors output 0-3.3V. Use voltage divider:
Sensor AO → 10kΩ → A0
Sensor AO → 5.6kΩ → GND
📖 Complete Code (Soil + Temp + Humidity)
#include <ESP8266WiFi.h>
#include <ESP8266HTTPClient.h>
#include <DHT.h>

// ========== WIFI CREDENTIALS ==========
const char* ssid = "YOUR_WIFI";
const char* password = "YOUR_PASSWORD";

// ========== DEVICE TOKEN ==========
const char* deviceToken = "YOUR_DEVICE_TOKEN";

// ========== SENSOR PINS ==========
#define DHTPIN 4
#define DHTTYPE DHT22
#define SOIL_PIN A0

DHT dht(DHTPIN, DHTTYPE);

// Calibration values (CALIBRATE THESE!)
const int DRY = 950;    // Value in dry air
const int WET = 350;    // Value in water

void setup() {
    Serial.begin(115200);
    dht.begin();
    pinMode(SOIL_PIN, INPUT);

    // Connect to WiFi
    WiFi.begin(ssid, password);
    while (WiFi.status() != WL_CONNECTED) {
        delay(500);
        Serial.print(".");
    }
    Serial.println("\n✅ WiFi connected!");
}

void loop() {
    // Read sensors
    float temp = dht.readTemperature();
    float hum = dht.readHumidity();

    int raw = analogRead(SOIL_PIN);
    int soil = map(raw, DRY, WET, 0, 100);
    soil = constrain(soil, 0, 100);

    if (!isnan(temp) && !isnan(hum)) {
        sendData(temp, hum, soil);
    } else {
        Serial.println("❌ DHT22 read error!");
    }

    delay(60000);  // Send every minute
}

void sendData(float temp, float hum, int soil) {
    if (WiFi.status() != WL_CONNECTED) {
        Serial.println("WiFi disconnected!");
        return;
    }

    HTTPClient http;
    http.begin("https://api.oceanremote.net/device/state");
    http.addHeader("Content-Type", "application/x-www-form-urlencoded");

    String data = "token=" + String(deviceToken);
    data += "&temperature=" + String(temp);
    data += "&humidity=" + String(hum);
    data += "&soil_moisture=" + String(soil);

    int httpCode = http.POST(data);

    if (httpCode == 200) {
        Serial.println("✅ Data sent to OceanRemote!");
        Serial.printf("   Temp: %.1f°C | Hum: %.0f%% | Soil: %d%%\n", temp, hum, soil);
    } else {
        Serial.printf("❌ Failed: HTTP %d\n", httpCode);
    }

    http.end();
}
💡 Getting Your Device Token:
- Log in to OceanRemote dashboard
- Go to Devices → Add Device
- Copy your unique device token
- Replace
"YOUR_DEVICE_TOKEN"with your token
✅ After Setup:
- 📊 Your data appears on OceanRemote dashboard
- 🌍 Viewable from anywhere in the world
- 📈 Historical graphs and data export
- 🚨 Set up alerts for low moisture or high temp
💡 Key Takeaways:
- Apply these concepts directly to your farm or project.
- Take notes on important details for the quiz.
- Use the button below to track your progress.
×
![Enlarged view]()